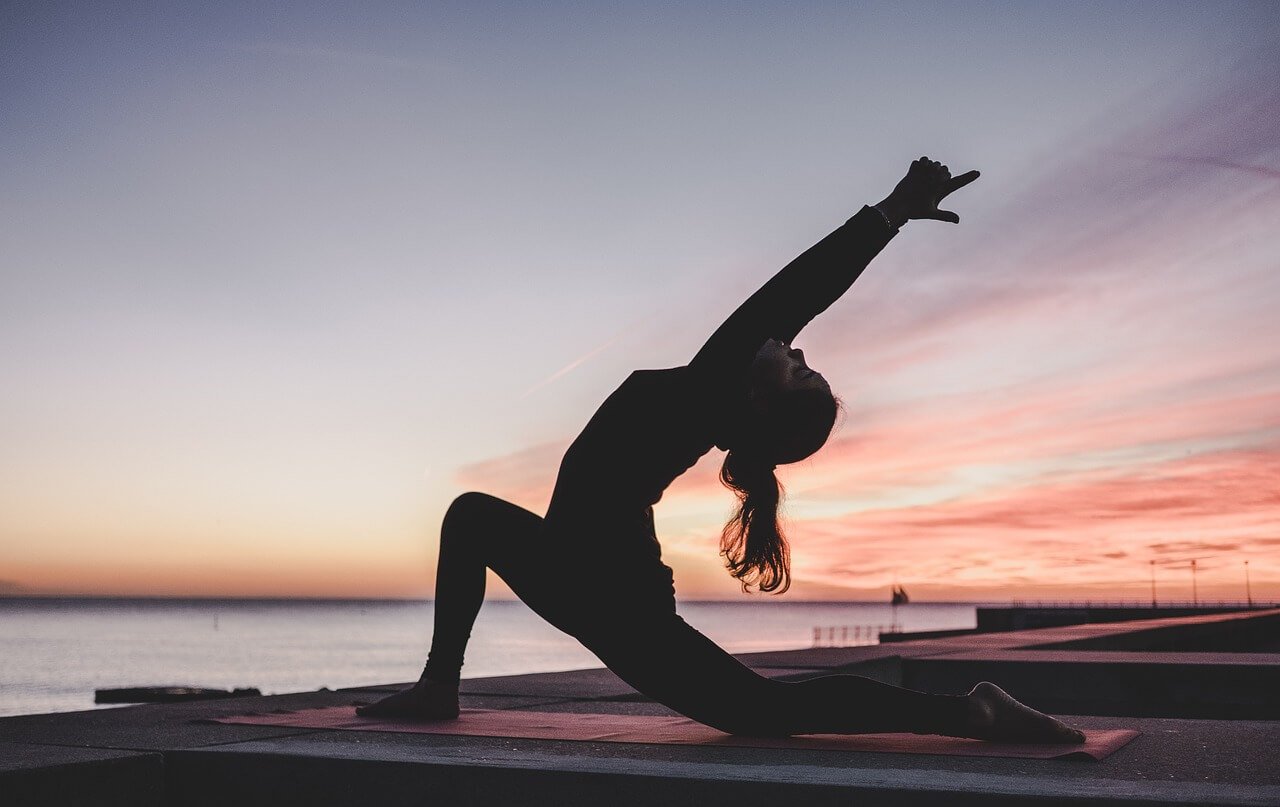
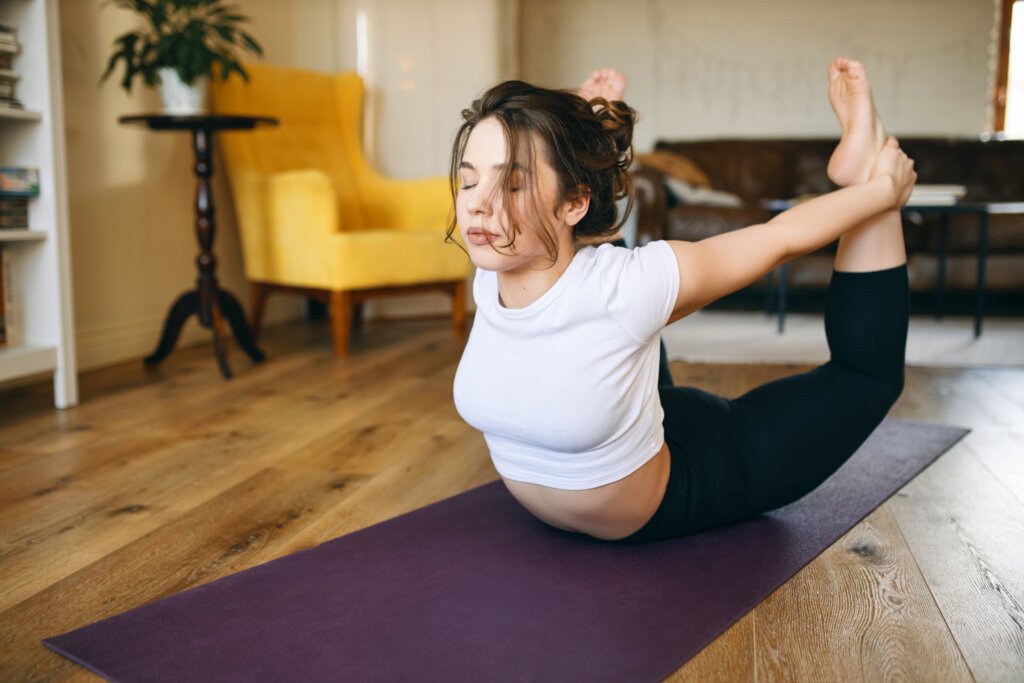
Whether you practice yoga regularly or are just a beginner looking to learn advanced yoga poses, you are at the right place. In this article, we will discuss the top 10 advanced yoga poses and advanced yoga training in Bali. So, let’s just start.
Top 10 Advanced Yoga Poses
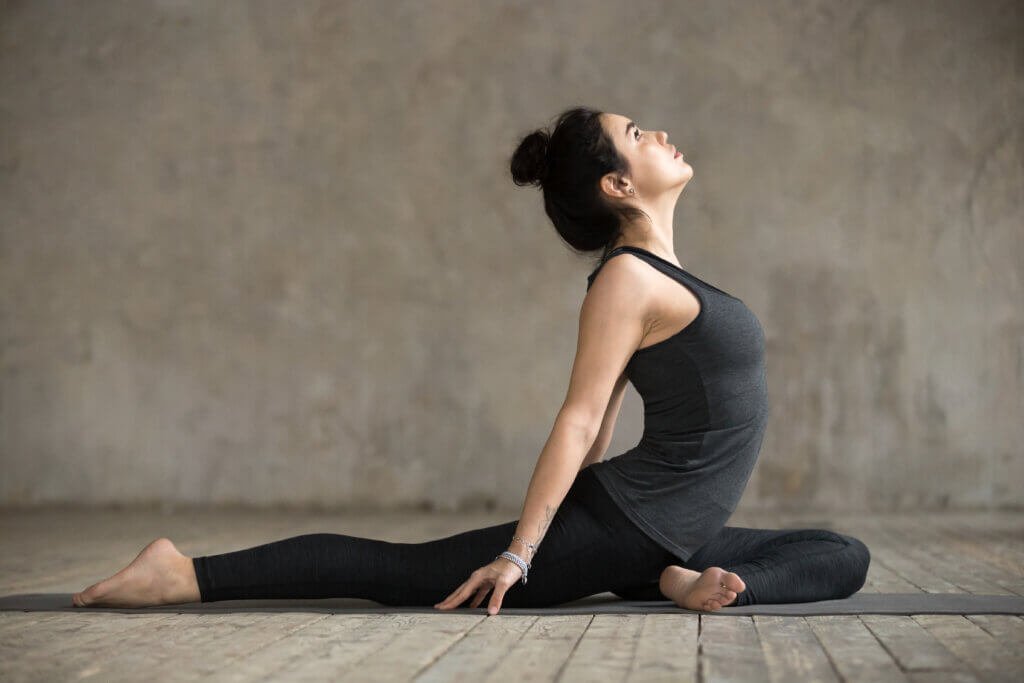
Dhanurasana (Twisted Bow Pose)
Dhanurasana is beneficial to the digestive system. Over time, breathing exercises like this one that involve expanding the chest can provide relief from respiratory conditions like asthma.
To perform Dhanurasana you have to first lay flat on your stomach. Make sure your legs are close together and your forehead is pressed into the floor. Then bring your feet up behind you and flex your legs at the knees. Grip your ankles while extending your arms backward. Take a breath. Raise your head off the floor and raise your thighs at the same time. At this point, your body should be bent upward. After that, hold the position for ten seconds.
Benefits:
- Stretches the muscles that flex in your hips and front body.
- Increases the muscle strength in your back
- Opens up your shoulders and chest
Adho Mukha Vrksasana (Handstand Pose)
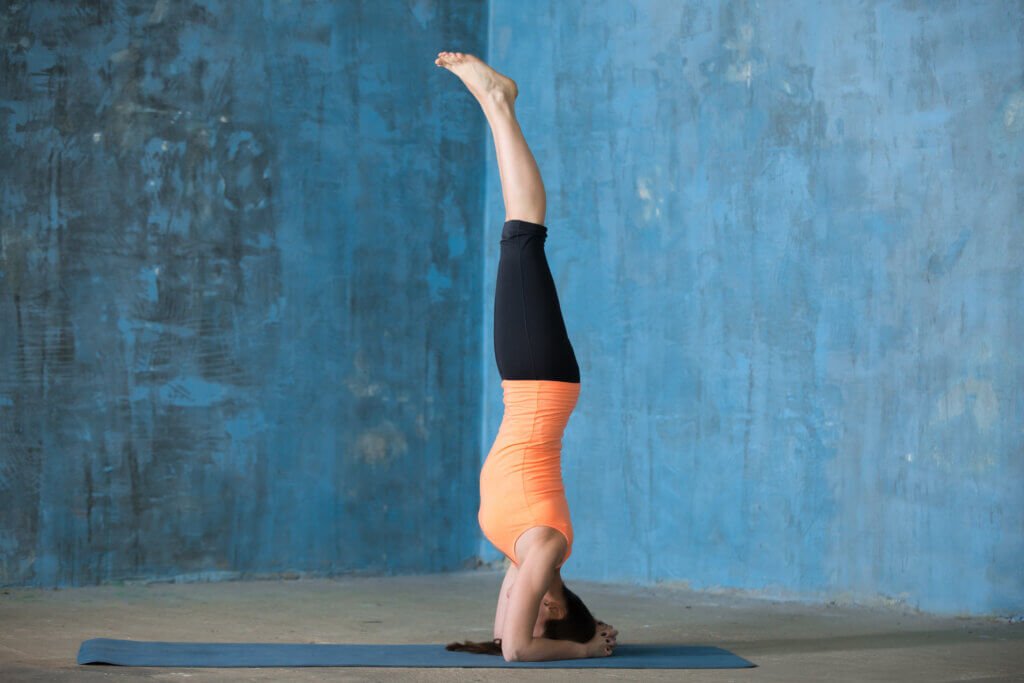
The Handstand Pose, or Adho Mukha Vrksasana, is an advanced yoga pose that requires some strength, body awareness, and breathing in addition to hip and shoulder flexibility. You can perform this asana by following these steps. Start by placing your hands on the mat just below your shoulders, stand split-legged, and look at the space between your hands. Then place your standing foot exactly beneath your hip, bending it slightly at the knee. To lead with the standing leg, contract your core and lift up with control, pulling your thigh up and into the hip socket. Raise your raised leg straight up and contract your toes. With your big toes touching and your heels slightly apart, bring your legs together.
Benefits:
- It strengthens the wrists, arms, and shoulders.
- It also enhances cerebral blood flow and activates the pituitary and hypothalamic organs.
- It enhances cardiovascular health and lessens cardiac strain.
- Adho mukha vrksasana improves focus, balance, and stability.
- It increases energy and happiness
Bakasana (Crane Pose)
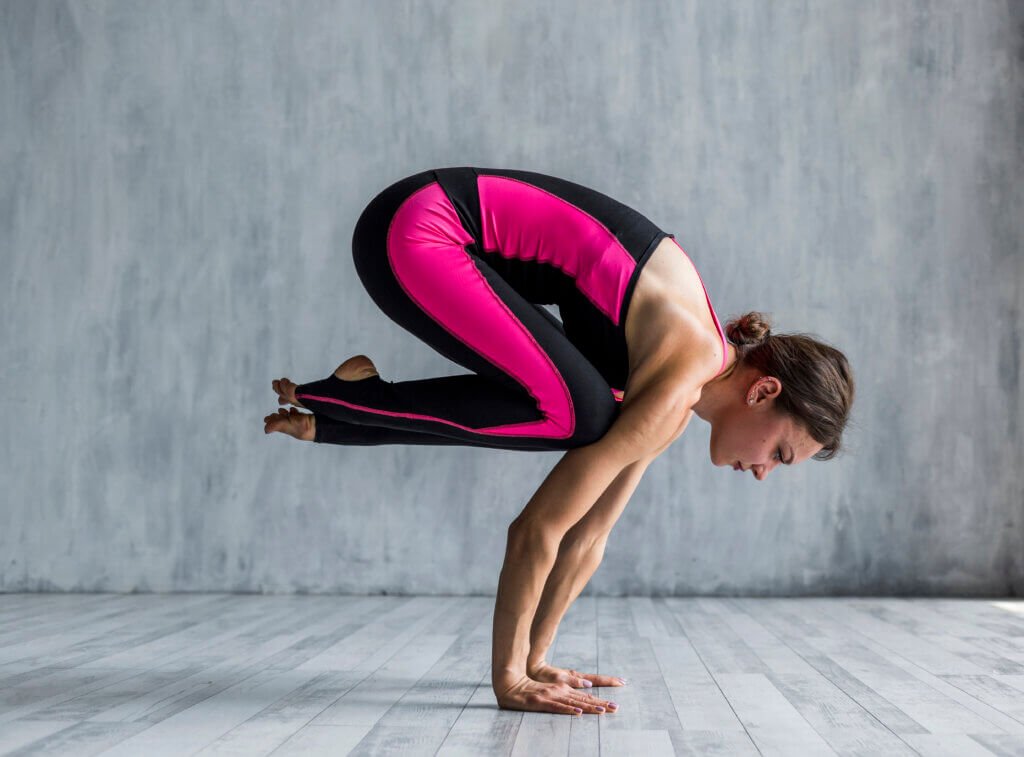
For many yoga practitioners, Crow Pose is the first arm balance they will likely try to do. Even though it may seem like it’s all about arm strength, the secret to balance is figuring out where your center of gravity is and how to release your weight. To perform Bakasana or the crow pose you have to start by placing your arms by your sides while standing in Mountain Pose then breathe continuously while in this position. Then place your hands flat on the ground shoulder-width apart, and bend your knees slowly. After that, place your palms on the mat approximately one foot in front of your feet. Press into each finger’s top joint by spreading your fingers widely. Now straighten your elbows back. As you raise yourself up onto the top of your feet, extend your knees till they meet your upper arms. Put your knees on your upper arms back. Lift your head as you start to shift your weight forward into your hands. Rise onto your toes and raise one foot off the ground before raising the other. Now maintain the knees on the arms and use the inner thighs for support. Touch your butt from your feet. Pay attention to how your body feels as it lifts. Release your breath and return your weight to the floor so that your feet touch it.
Benefits:
- It makes your entire upper body stronger.
- It also strengthens your core.
- It facilitates internal organ cleansing and digesting
Eka Pada Rajakapotasana (Pigeon Pose)
A pigeon pose is a position that opens the hips and relieves lower back pain. Even though it’s a fantastic way to stretch your muscles and improve flexibility, it’s important to perform it correctly. Raise the right leg into a down dog split as you sit in the downward dog position. As you move your right leg forward to take a step forward, bend your right knee. Bring your right knee to the floor on the outside of your right hand, as opposed to putting your foot down like you would for a lunge. Depending on your range of motion, your right leg could curve backwards towards your left hip or it may be more parallel to the front of your mat. Drop your left knee to the ground. Lay your left leg flat on the ground. Make sure your left foot is pointed straight back by looking backward. Towards the front of your mat, straighten your hips. Bend forward over your right leg with your torso if you feel stable. Maintain a square hip and equal distribution of weight on both sides. Lift your forehead to the ground. Raising yourself back up, align your hands with your hips. Curl your left toes under and take a step back into a downward-facing dog position to release.
Benefits:
- It opens up your shoulders and chest
- It stretches the muscles in your neck, hip flexors, and thighs.
- It stimulates the organs in the abdomen
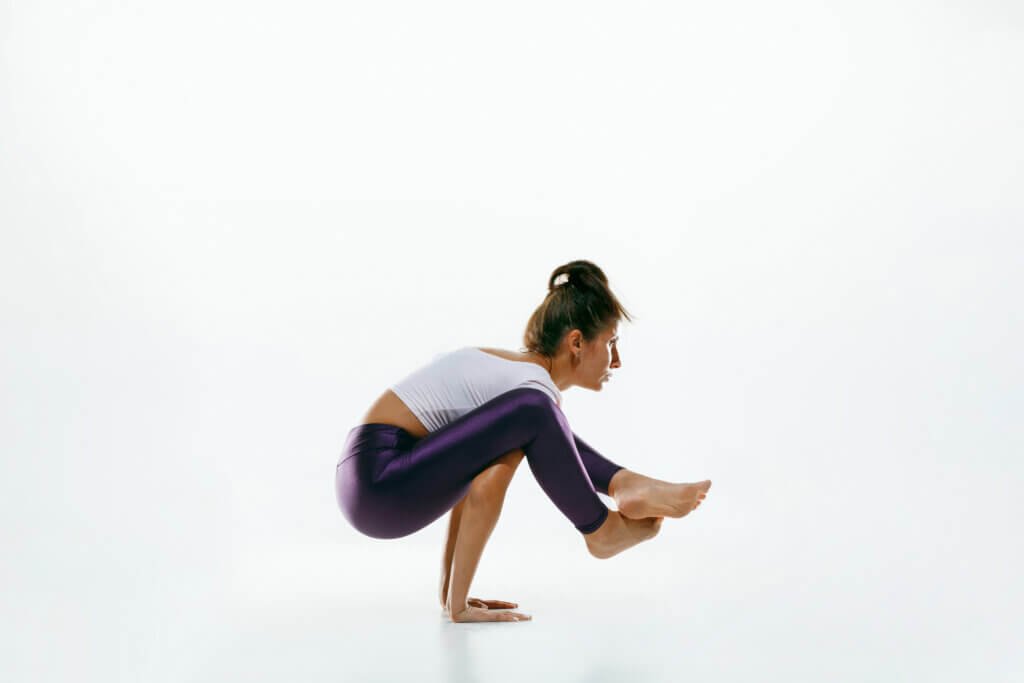
Tolasana (Scale Pose)

Tolasana is an advanced yoga pose that is also very beneficial for us. You can perform this yoga pose by following the below-mentioned steps: Start by being in the Lotus Pose or Padmasana then lay your hands down next to the hips on the ground. Breathe out, press your hands to the ground, tense your abdominal muscles, and raise your legs and buttocks off the ground. Be in this position for ten to 20 seconds. Then, when you release the breath, lower your legs and buttocks, switch up how your legs cross, and repeat for the same time.
Benefits:
- It improves control, stability, and core strength
- It strengthens the wrists and core; and increases inner and outer hip flexibility
- It involves complete awareness of one’s body
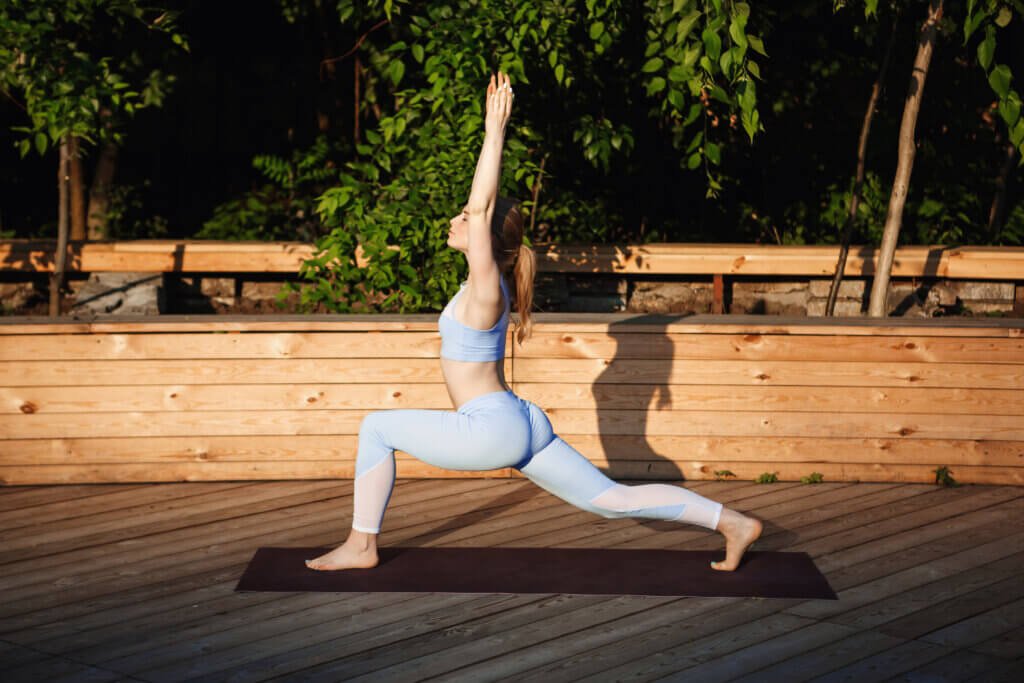
Parivrtta Ardha Chandrasana (Revolved Half Moon Pose)
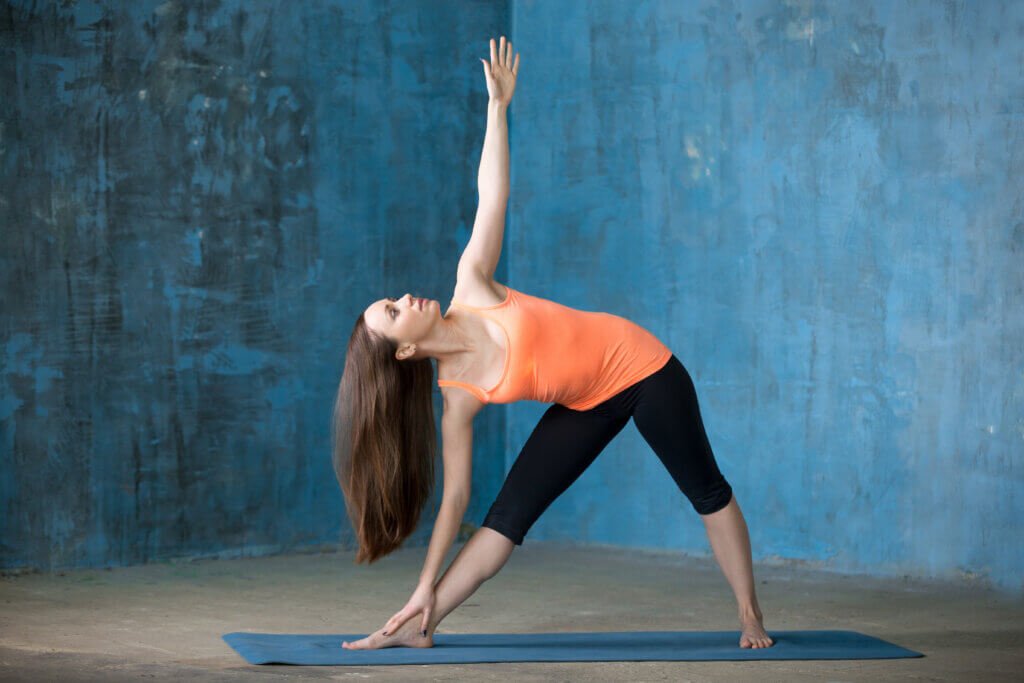
The intermediate-level standing yoga pose known as Parrivrtta Ardha Chandrasana combines a forward bend with a twist and balance. To perform this yoga pose start by standing on your right leg with your left leg stretched behind you, keeping your shoulders, hips, and back heel in a straight line. This is known as the Warrior 3 position. Starting with just your torso, rotate while keeping your hips squarely on the mat. Raise your right arm towards the ceiling while placing your left fingertips on the mat.
Benefits:
- It increases lower back, ankle, and core strength
- It stretches your arms, torso, and chest
- It aids in cleansing of the body and digestion
Tittibasana (Firefly Pose)
Titibasana belongs to the group of poses called arm balances. Arm length is one of the main requirements for practicing Titibasana. To perform this yoga pose start by doing the forward-bending pose of Uttanasana on a yoga mat, with your hands on the floor behind your feet, and take a deep bend in your knees. Your knees should be bent just enough to allow your palms to rest flat on the ground (or on blocks). Spread your fingers and place your hands shoulder-width apart. As much as possible, raise your knees on your arms by adjusting your posture. After that, tighten your knees against your shoulders to restore core tone. Once your feet start to feel light on the floor, start to gradually transfer your weight back while keeping your knees pressed in close to your shoulders. Raise your feet off the ground and bring your toes together. Continue to compress your shoulders. Breathe a few times, then slowly lower your hips to the floor. Take a few breaths, sit, and relax.
Benefits:
- It improves hamstring and hip flexor flexibility
- It strengthens the shoulders and the core
- It involves complete control and stability of the body
Natarajasana (King Dancer Pose)
Strong balance, deep back bending, and open shoulders are required for performing the King Dancer Pose, all of which take practice. To perform this yoga pose, start by placing your feet together while standing. As you draw your left leg up and towards your chest, start to place your foot carefully in all four corners. To activate your standing leg quadriceps, lift your kneecap, and clench your glutes to keep your pelvis stable. Using the same side arm, grab your left leg’s ankle. Lower your left knee to meet your standing leg and turn your foot back towards your butt. Tip forward and extend your left foot, then bring it back behind you. Reach back behind you with your free arm and grip onto the outside of your raised left foot. As you press your chest forward and straighten your standing leg, kick the foot high.
Benefits:
- It opens up your shoulders, hips, and chest
- It strengthens the muscles of the ankle and legs
- It also enhances flexibility and balance
Astavakrasana (Eight-Angle Pose)
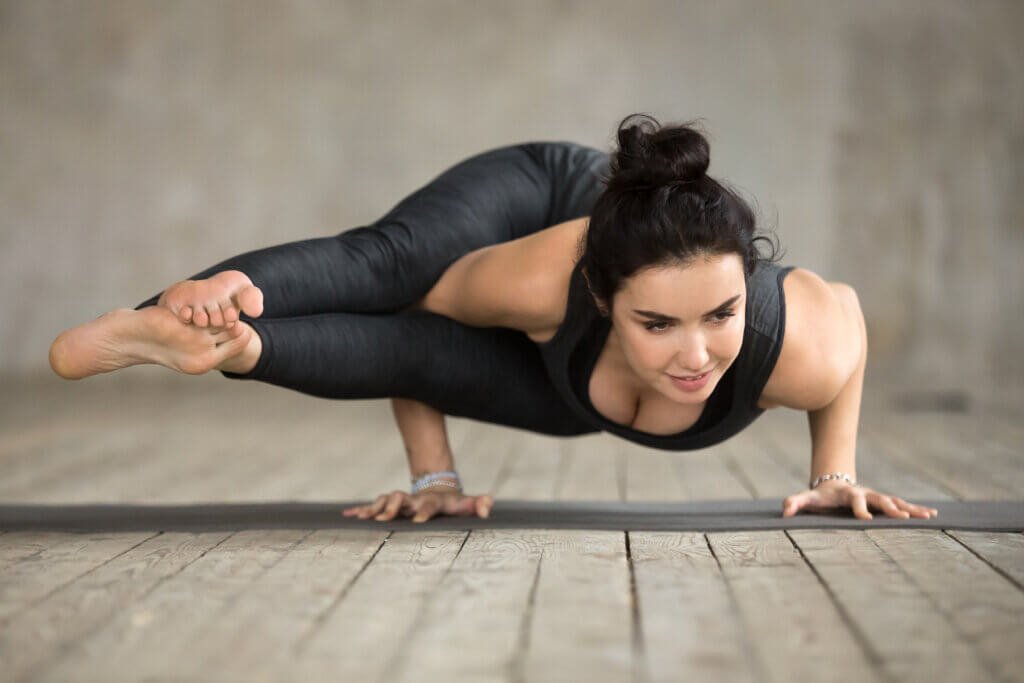
Astavakrasana, or Eight-Angle Pose, is a difficult arm balance that requires focus, strength, flexibility, and balance. To perform this start by bending one leg while sitting and use the other hand to grab the outside edge of your foot. To get your free arm underneath your leg, raise your foot high. Raise your knee to the level of your shoulder. Grab the raised leg with both hands shoulder-distance apart on the mat beside your hips, pulling it towards your midline. With the middle fingers pointing forward, spread your fingers widely. To raise your hips off the ground, contract your core and extend downward with your hands. To raise the legs, slide the bottom leg into the hip socket and rotate the hips back. To maintain the pose, cross your lower ankle over your upper ankle. Stretch your legs apart and use your inner thighs to squeeze your bicep. Bending halfway to the ground, bring arms to Chaturanga.
Benefits:
- Eight-Angle Pose stretches the backs of the legs and the back body while strengthening the arms, rear, and abdominals.
- It enhances your awareness of your body and posture.
- It can also help in increasing confidence, and give you more energy.
- It enhances equilibrium and concentration.
- It strengthens the wrists and upper body.
Hanumanasana (Monkey Pose)
Another name for Hanumanasana is the monkey position. It’s the name given to the front split in yoga. Lord Hanuman was well-known for his long jumps, which he could perform over large distances. To perform this yoga pose raise your body to a half-monkey position and place your fingertips just below your shoulders. When your front sits bone touches the ground, start sliding your back knee back and your front heel forward. To hold it up if it is not touching the ground, use a block, or folded blanket. Lift the inner thigh of the back leg and roll it up to as much of a square as possible. Breathe in to stretch your spine; exhale to fold over your front leg, bringing your navel and ribs closer together. Hold your hands down by your sides for additional support.
Benefits:
- It stretches and strengthens the muscles in your groin and hamstrings.
- It improves hip flexibility with consistent practice
- It stretches the muscles in the lower back
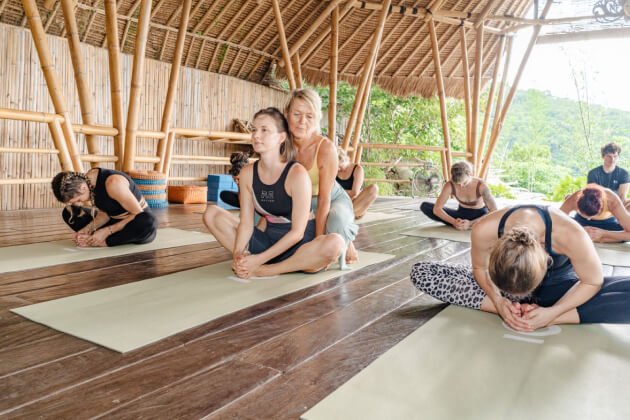
Advanced Yoga Training In Bali
You can enhance your teaching skills by enrolling in TrimurtiYoga Bali’s extensive 300-hour program. Learn more about yoga from a group of knowledgeable, skilled, and experienced instructors.
The advanced creative yoga module that Trimurti Yoga Bali provides is made to help you create a better understanding of all the yoga poses. Our 300-hour yoga teacher training program is a rigorous 26-day course that focuses on vinyasa flow, yin yoga, and meditation. One of the course’s main components is yoga nidra. Along with providing you with the necessary tools to advance as a yoga teacher and expand your understanding of asana and practice, it will help you learn yoga more profoundly.
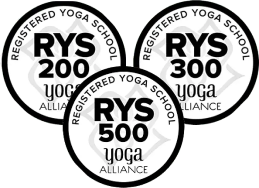
But before taking up the 300-hour yoga teacher training program, we understand that you should have finished a 200-hour yoga teacher training program in any style with a yoga alliance-certified school before enrolling in this course. You can register with Yoga Alliance as a 500-Hour Registered Yoga Teacher (RYT) by completing this course in addition to your prior one.
This course’s main goal is to develop your capacity to instruct vinyasa flow yoga classes in addition to yin yoga and meditation classes. The majority of your time will be dedicated to learning the sequences for both yin yoga and vinyasa flow classes, as well as developing a deeper understanding of the various meditation techniques and how to use them to improve self-awareness.
Conclusion
You may simply learn how to perform these yoga poses and gain proficiency by doing them correctly and consistently. In addition to assisting you in developing your practice, this advanced yoga training will educate you on how to develop a secure environment in which you can perform proper asana.
We Also Provide These Courses: